Key Takeaways
-
- Diverse Techniques: Nail art techniques range from freehand painting to intricate 3D designs, allowing for extensive creative expression.
-
- Accessibility: Techniques like stamping and nail wraps are user-friendly for beginners, enabling quick and impressive designs without extensive skills.
-
- Essential Tools: Investing in quality tools such as nail brushes, dotting tools, and stamping kits is crucial for achieving professional-looking results.
-
- Preparation is Key: Proper nail preparation, including cleaning, using a base coat, and organizing supplies, significantly enhances the final outcome.
-
- Thin Layers: Applying nail polish in thin layers helps ensure quick drying and prevents smudging, leading to cleaner designs.
-
- Finishing Touches: Always seal nail art with a top coat for longevity and shine, protecting the artwork from chips and enhancing its visual appeal.
Nail art has transformed from a simple beauty routine into a captivating form of self-expression. With countless techniques available, enthusiasts can turn their nails into miniature canvases, showcasing creativity and style. Whether it’s intricate designs or minimalist patterns, the possibilities are endless.
Exploring various nail art techniques not only enhances one’s personal style but also provides an avenue for relaxation and fun. From classic French tips to bold geometric shapes, each method offers unique challenges and rewards. This article delves into popular techniques, helping both beginners and seasoned artists elevate their nail game.
Nail Art Techniques
Nail art techniques encompass various methods that elevate nail design and creativity. Familiarity with these techniques enables artists to experiment and express individuality. Key techniques include:
-
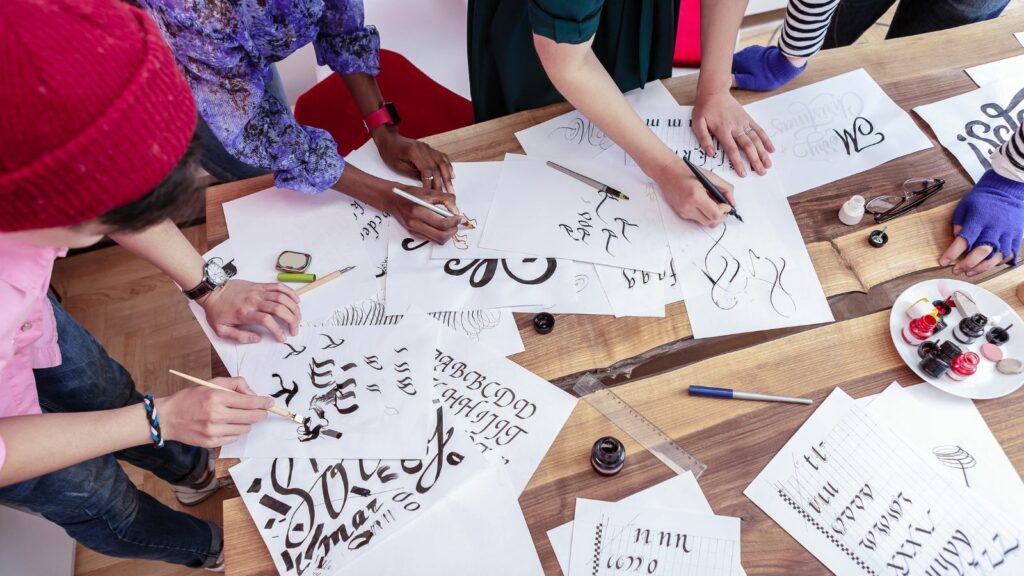
- Freehand Painting: Freehand painting involves directly applying polish or acrylic using a brush. It allows for intricate designs, such as florals or abstract art.
-
- Stamping: Stamping utilizes metal plates engraved with designs. Artists transfer these designs onto nails using a special scraper and stamper, creating uniform patterns quickly.
-
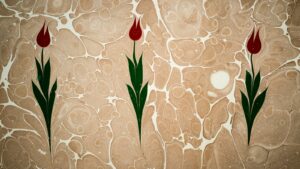
- Marbling: Marbling entails swirling different nail polish colors together to form a unique design. This technique produces eye-catching, blended patterns on the nail surface.
-
- Water Color: Watercolor techniques blend sheer, light-hued polishes, resembling watercolor paintings. This method offers soft, delicate designs.
-
- Gel Nail Art: Gel nail art incorporates gel polishes that cure quickly under UV or LED light. This technique provides durability and allows for creative layering techniques.
-
- Nail Wraps: Nail wraps come in pre-designed forms that adhere to the nail. They offer a quick way to achieve intricate designs without additional effort.
-
- 3D Art: 3D nail art involves adding embellishments like gems, studs, or sculptures. This technique adds dimension and enhances the overall design.
-
- Negative Space: Negative space techniques leave parts of the nail bare, creatively using the nail’s natural color. It results in modern, minimalistic designs.
-
- Ombre: Ombre techniques blend two or more colors seamlessly across the nail. Artists often use sponges for smooth gradient transitions.
-
- French Manicure Variations: French manicures have evolved; variations include colorful tips and unique patterns. These modern takes add playfulness to a classic style.
Exploring these nail art techniques allows individuals to customize their designs, catering to personal preferences and trends. Each technique possesses its unique appeal, providing countless opportunities for creativity and personal expression.
Popular Nail Art Techniques
Exploring nail art techniques allows for a diverse range of styles and expressions. Each method provides unique opportunities that cater to various aesthetics and skill levels.
Freehand Nail Art
Freehand nail art involves creating designs directly on the nails without stencils. Artists use nail brushes or dotting tools for precision. Popular designs include florals, geometric patterns, and abstract art. This technique offers complete creative freedom, making it perfect for expressing individuality. Mastering this technique requires practice and steady hands.
Stamping Nail Art
Stamping nail art uses pre-designed images transferred from a metal plate onto the nail. A stamping tool and polish facilitate this process, allowing for uniform patterns in minutes. This technique provides a quick way to achieve intricate designs without extensive painting skills. Popular designs include seasonal motifs, intricate lace patterns, and fun graphics. Stamping kits are widely available, making this technique accessible for beginners.
Water Marble Nail Art
Water marble nail art creates stunning, swirling patterns by dropping nail polish onto water’s surface. Artists swirl the colors with a toothpick or similar tool to achieve a marbled effect. The technique requires a steady hand and patience, as each nail is dipped individually. Water marble designs are vibrant and eye-catching, making them a favorite for special occasions. Practice improves results, leading to more complex designs.
Tools and Supplies for Nail Art
Understanding the necessary tools and supplies enhances the nail art experience. Proper equipment allows for creativity and precision, making the process smoother and more enjoyable.
Essential Tools
-
- Nail Brushes: Nail art brushes include detail, liner, and flat brushes for various design techniques. Detail brushes create fine lines, while flat brushes help fill larger areas.
-
- Dotting Tools: Dotting tools come with multiple-sized tips, enabling the creation of dots and circular patterns. They add dimension and finesse to designs.
-
- Nail Files and Buffers: Nail files shape nail edges while buffers smooth the surface, preparing them for polish. Properly shaped nails enhance the overall look of the art.
-
- Stamping Kits: Stamping kits provide plates with intricate designs and a stamper for easy application. They offer quick ways to achieve complex patterns.
-
- Sponges: Makeup sponges work well for ombre and watercolor techniques. They help blend colors seamlessly on the nails.
-
- Tape and Adhesive Vinyl: Tape or vinyl acts as a barrier for clean lines in geometric designs. They can mask off areas to create sharp contrasts.
-
- Tweezers: Precision tweezers assist in placing small embellishments or nail art stickers accurately, ensuring detail orientation.
Recommended Nail Products
-
- Base Coat: Base coats create a smooth foundation while protecting the natural nail from stains. They improve polish adherence and longevity.
-
- Top Coat: Top coats seal designs, enhancing shine and durability. Quick-dry options save time, while matte versions offer a contemporary look.
-
- Nail Polish: High-quality nail polishes provide a variety of colors and finishes, including creams, glitters, and holographics. Diverse brands cater to different needs.
-
- Gel Polish: Gel polishes deliver long-lasting wear and glossy finishes. They require curing with a UV or LED lamp for best results.
-
- Nail Art adhesives and glues: Specific adhesives ensure that stones, studs, or any embellishments remain securely attached. They enhance design stability.
-
- Nail Stickers and Decals: Nail stickers and decals are pre-designed options for quick and easy application. They come in various themes and styles, simplifying creativity.
-
- Water Marble Solutions: Special solutions assist in achieving water marble designs. They enhance polish spreadability and design complexity on water.
The right tools and products are crucial for realizing artistic nail designs, making each application a rewarding experience.
Tips for Successful Nail Art
Achieving great nail art requires attention to detail and a proper technique. Following these tips enhances the overall results, ensuring creativity shines through.
Preparation Tips
-
- Choose high-quality products: Select premium nail polishes and tools that ensure longevity and vibrant colors.
-
- Clean nails thoroughly: Start with clean, dry nails to remove oils and debris for optimal polish adhesion.
-
- Use a base coat: Apply a base coat to protect nails from staining and provide a smooth canvas for designs.
-
- Gather necessary supplies: Organize tools, paints, and other materials in advance to streamline the nail art process.
-
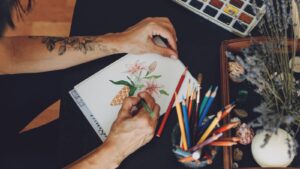
- Practice designs on paper: Sketch designs on paper or practice on a fake nail to refine techniques before applying to natural nails.
Application Tips
-
- Work in thin layers: Apply nail polish in thin layers for quicker drying and to avoid smudging.
-
- Use the right brush: Select the appropriate brush for each technique, ensuring precision for intricate designs.
-
- Be patient with drying: Allow adequate drying time between layers to prevent smearing.
-
- Employ tape for clean lines: Use tape to create sharp lines or geometric designs, ensuring clean edges.
-
- Finish with a top coat: Seal the design with a top coat for added shine and durability, protecting against chips.
Intricate Freehand Designs And Quick Stamping Techniques
Nail art techniques offer endless possibilities for personal expression and creativity. By experimenting with various methods and tools, individuals can elevate their nail art game while enjoying the process. Whether opting for intricate freehand designs or quick stamping techniques, the journey of mastering nail art is both rewarding and fulfilling.
With the right supplies and a bit of practice, anyone can achieve stunning results that reflect their unique style. As trends evolve, embracing new techniques keeps the art fresh and exciting. Ultimately, nail art is more than just a beauty routine; it’s a canvas for self-expression and a celebration of individuality.